
1. Before you start
Use a saved Entity to run screenings, keep its data current and review its history.
Open the maintained PRINCE BANK PLC. Entity created in the registry Entity guide. Its monitoring frequency is Monthly. This walkthrough runs a screening before opening Screening History so the history contains a record.
PRINCE BANK PLC. · Cambodia (KH)
Watch the workflow
The video is silent with captions. Any processing waits are shortened.
 Watch the walkthrough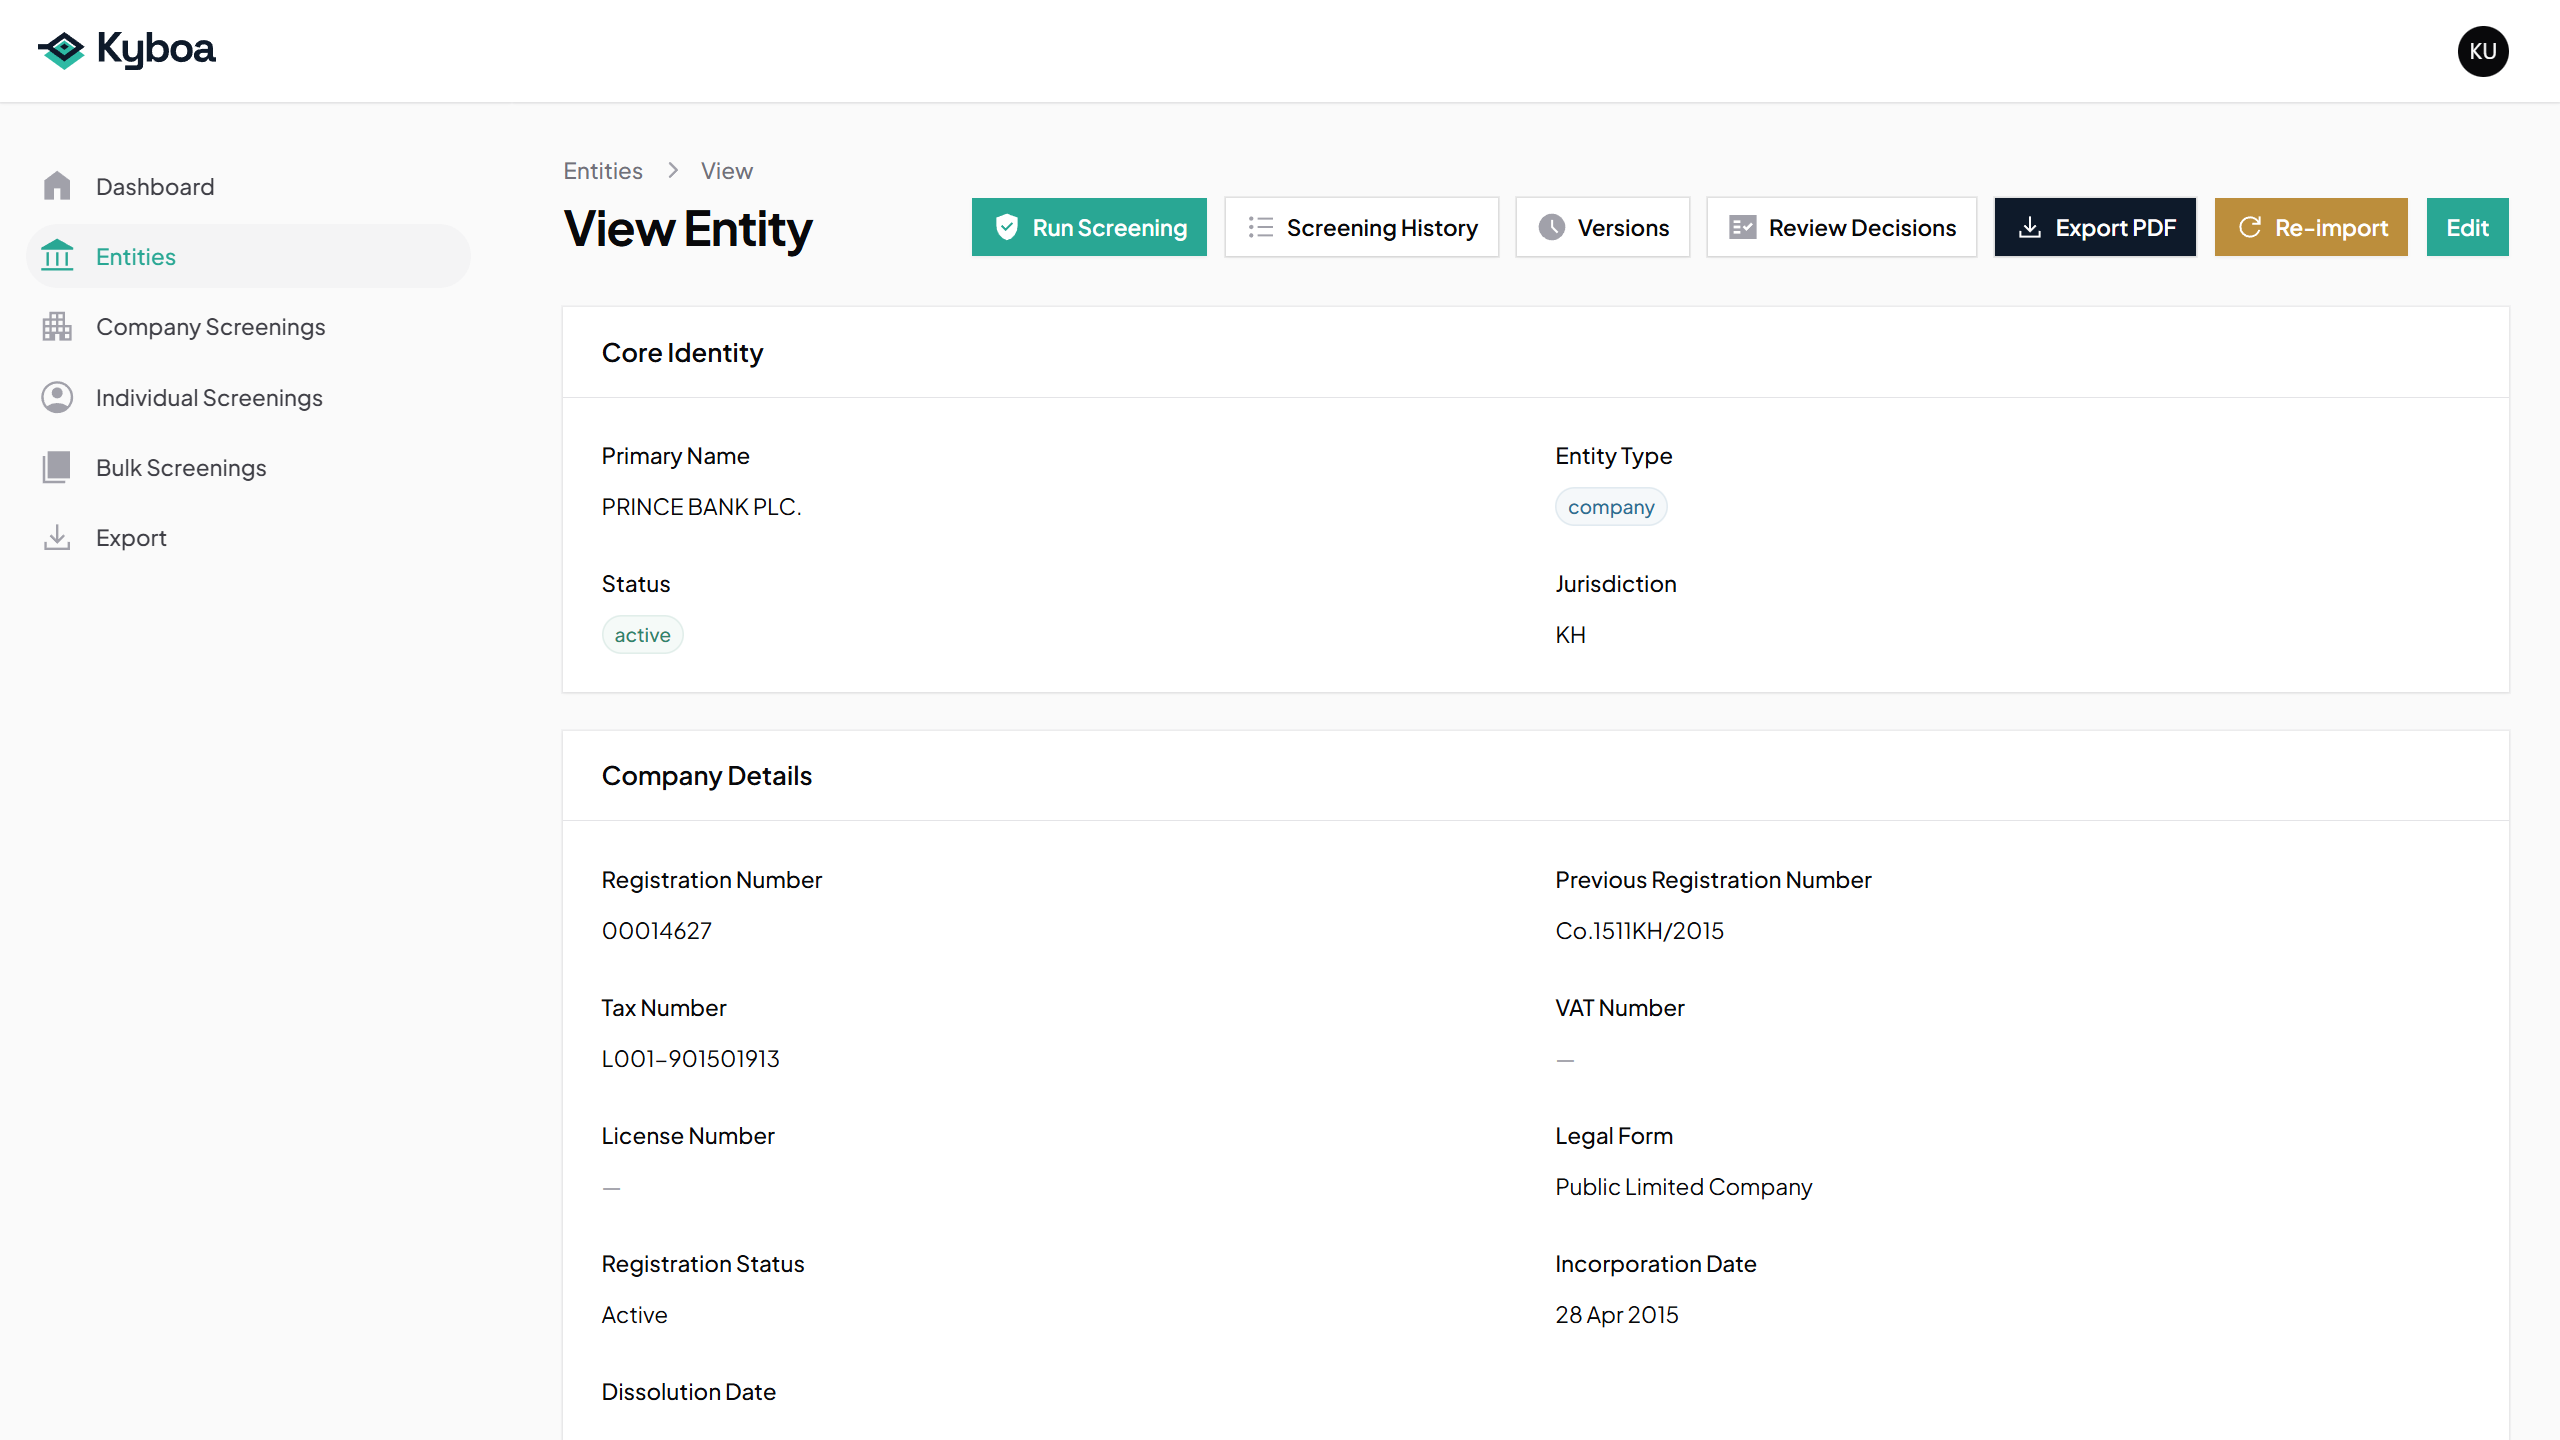
2. Update the Entity with Edit
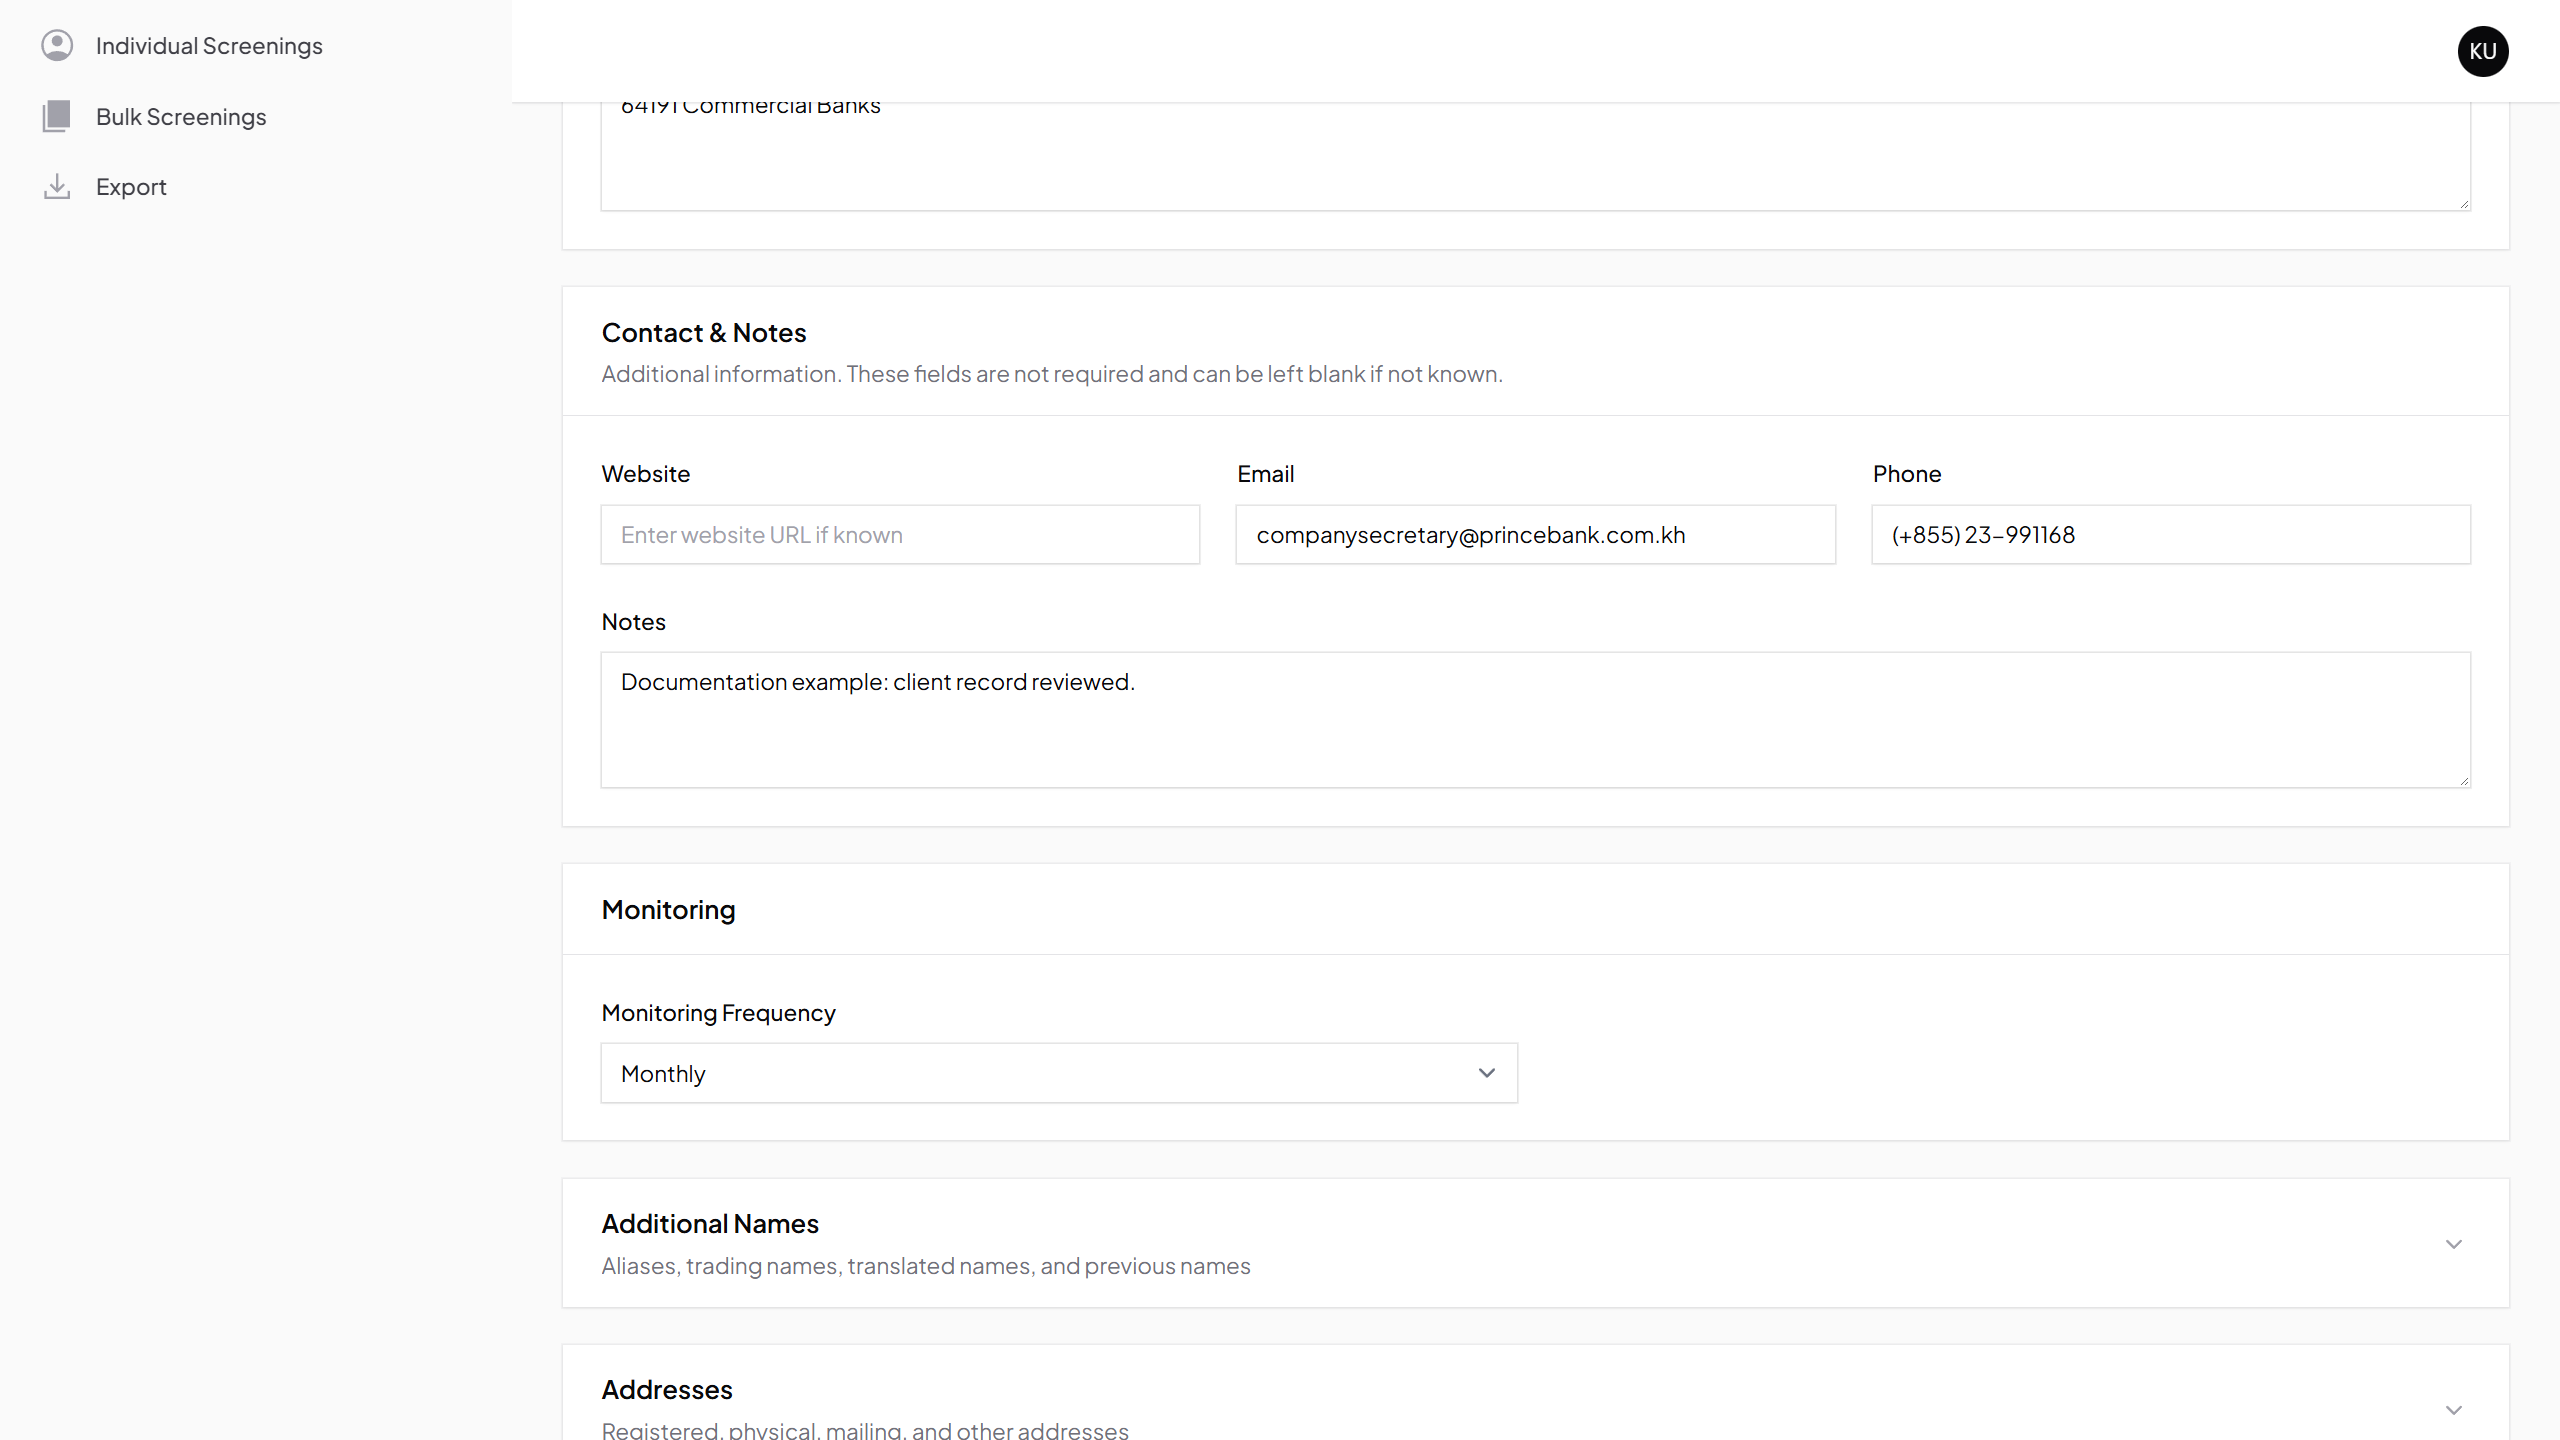
- Choose Edit.
- Update the client details you hold. This example adds a short documentation note in Notes.
- Choose Save changes and check the updated Entity.
Edits to Entity data are recorded in Versions. Monitoring frequency can also be changed through Edit.
3. Run a screening
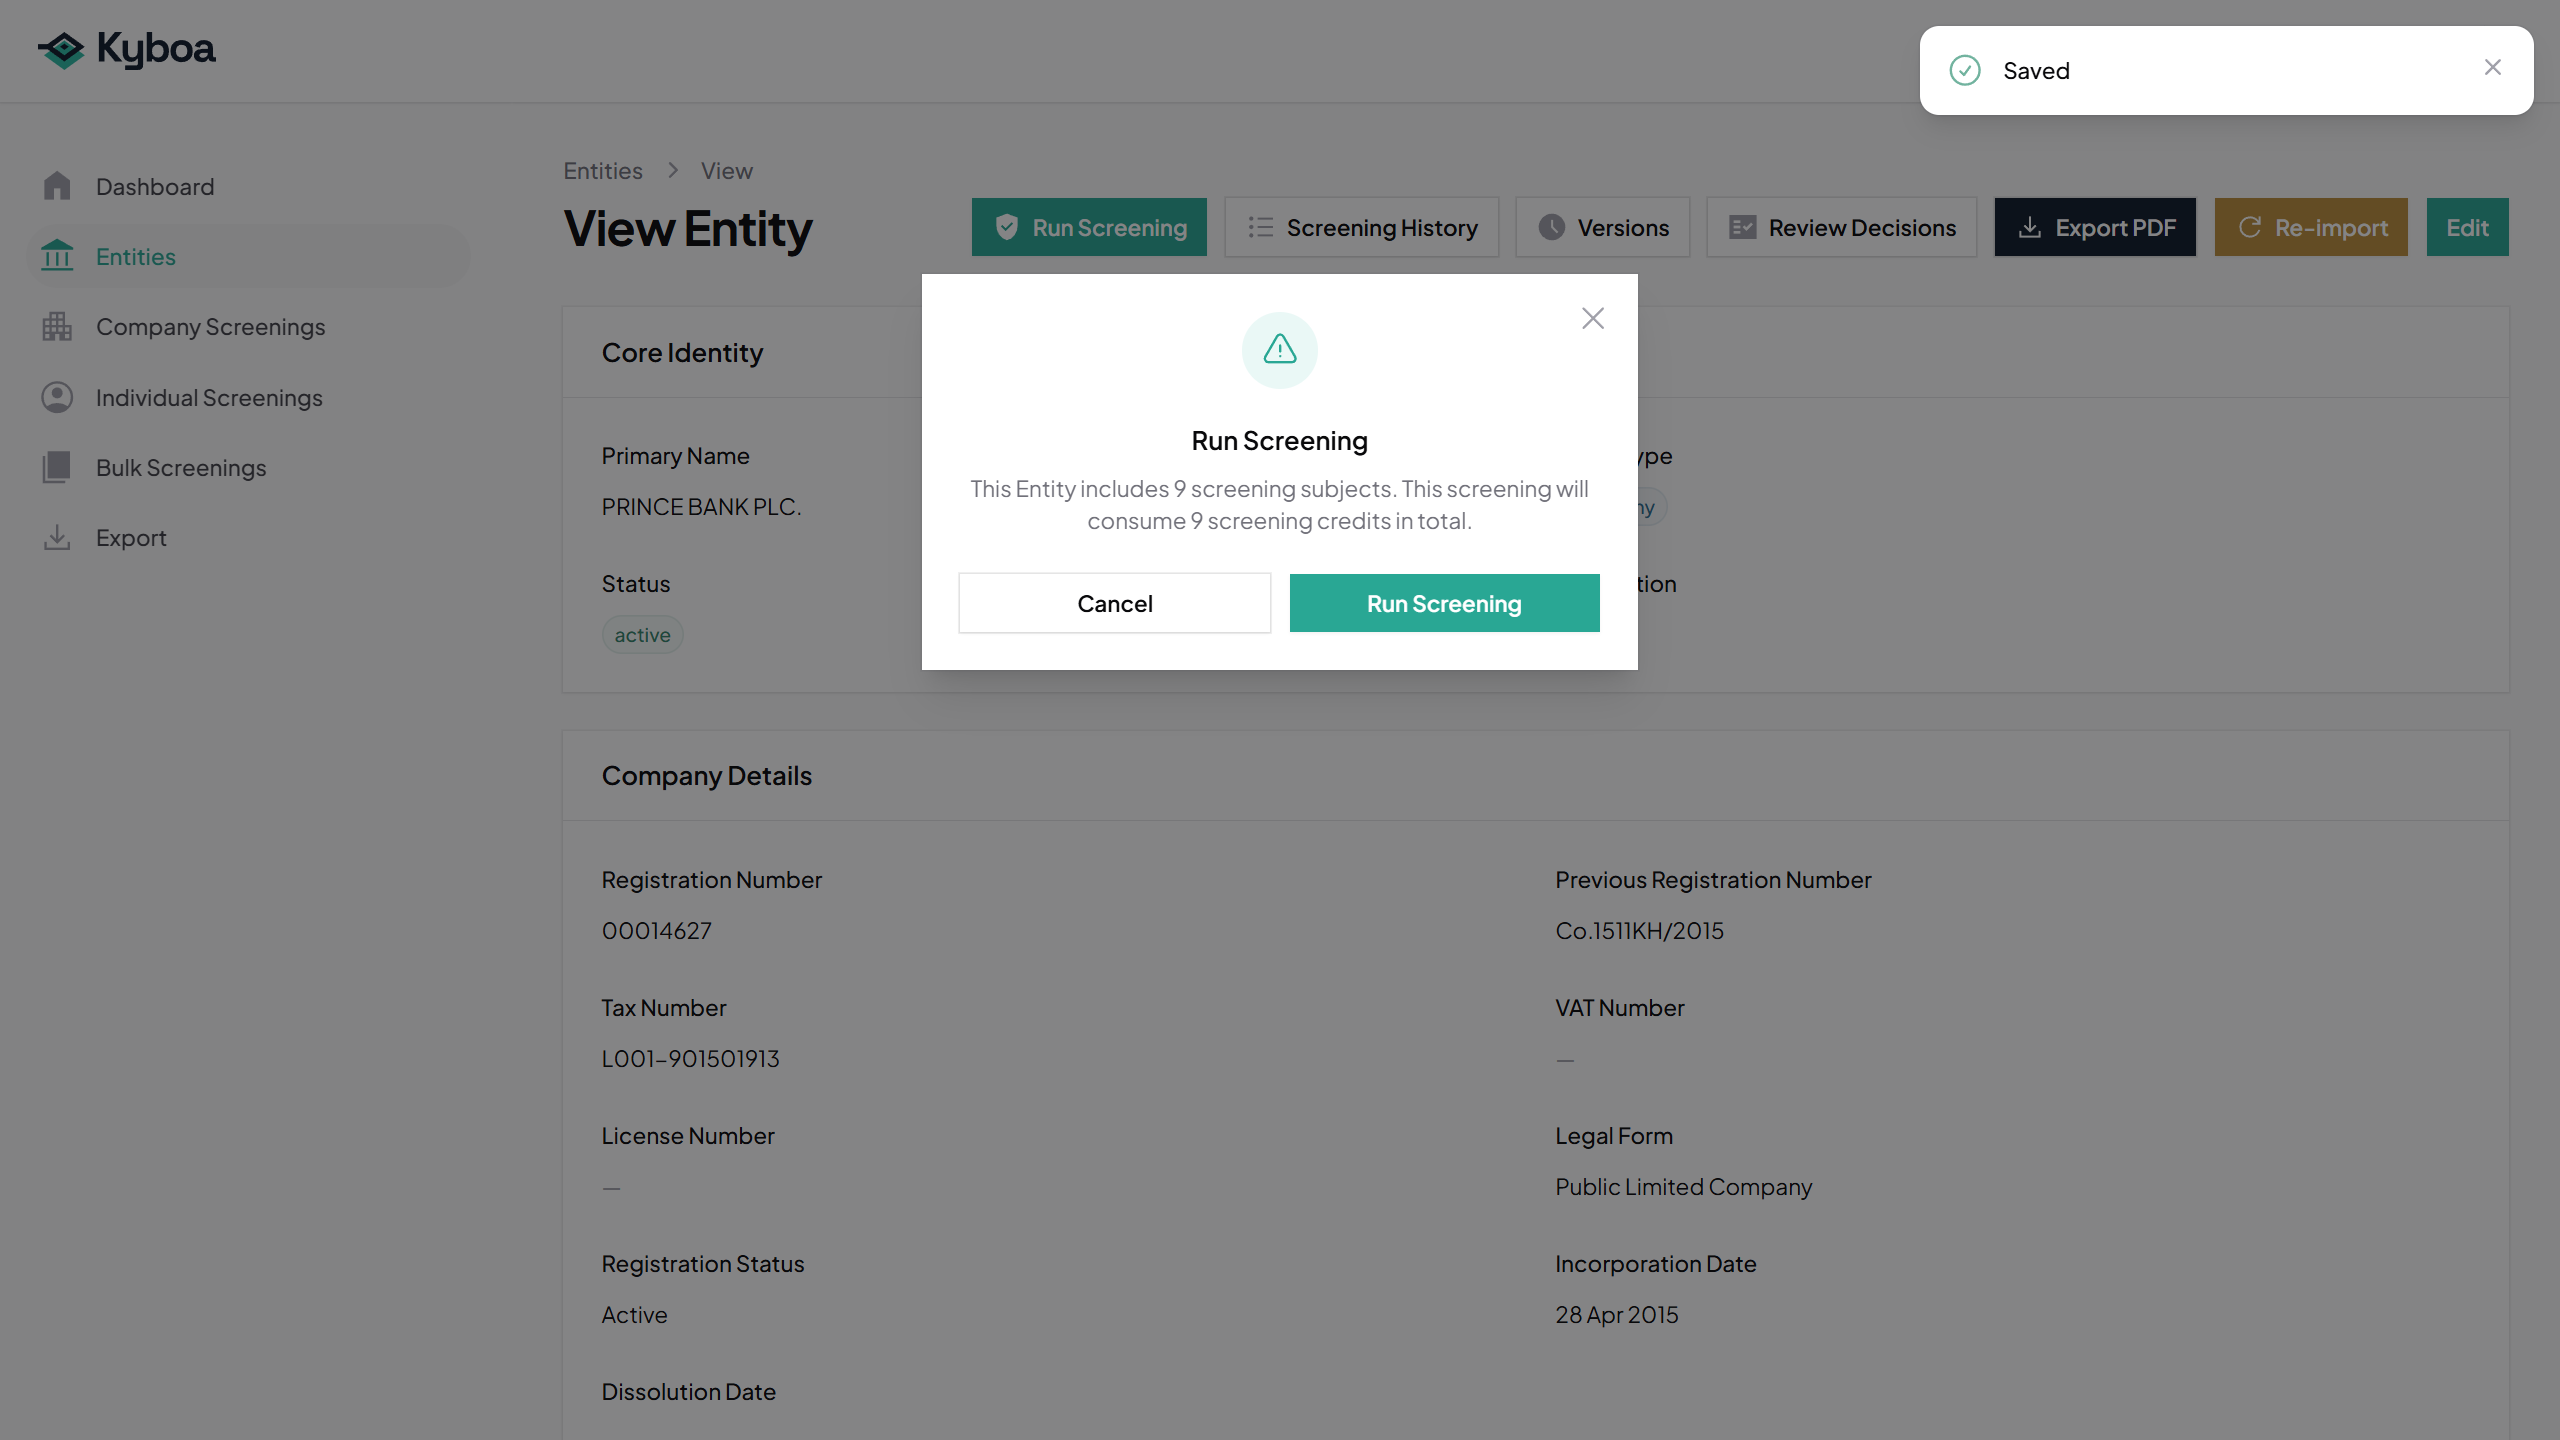
- Choose Run Screening.
- Check the confirmation, including the subjects to screen and screening credits required.
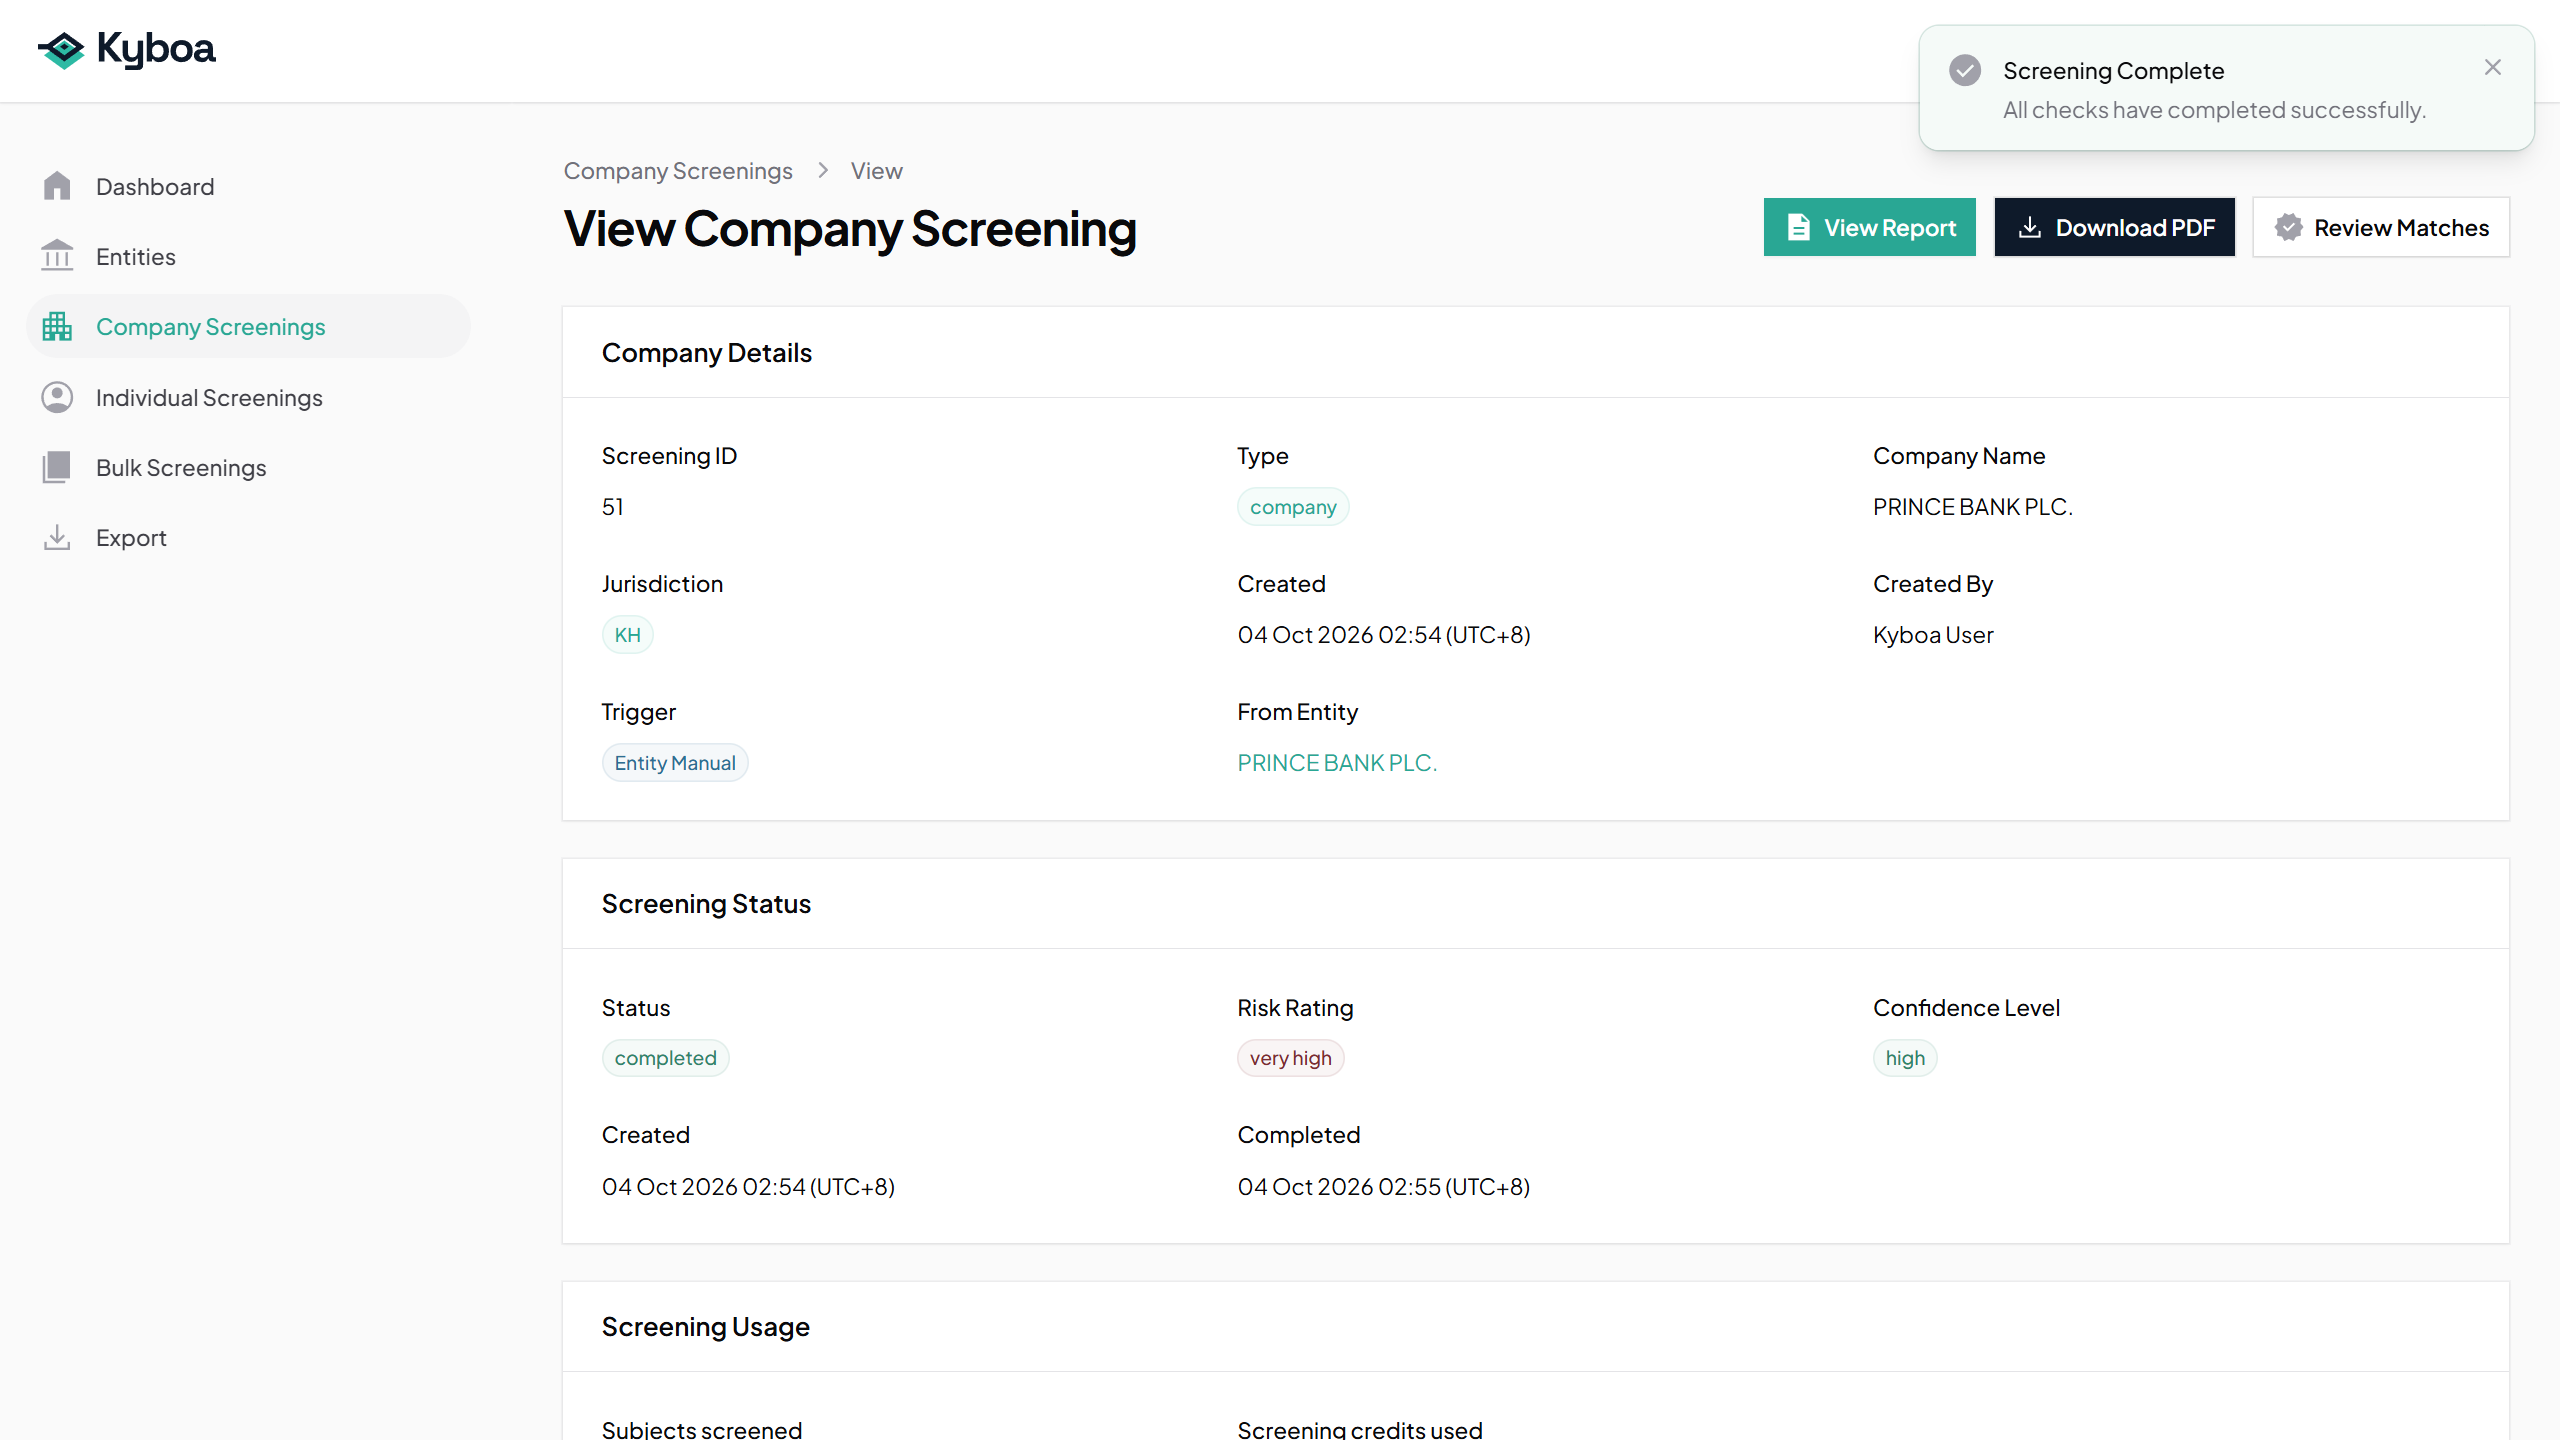
- Confirm Run Screening once. Kyboa creates a screening from the saved Entity data and opens its screening record.
- Wait for completion and check the final status and report availability.
The screening also appears in the appropriate Company or Individual Screenings list. Run Screening is an immediate action; monitoring schedules future screenings.
4. View Screening History
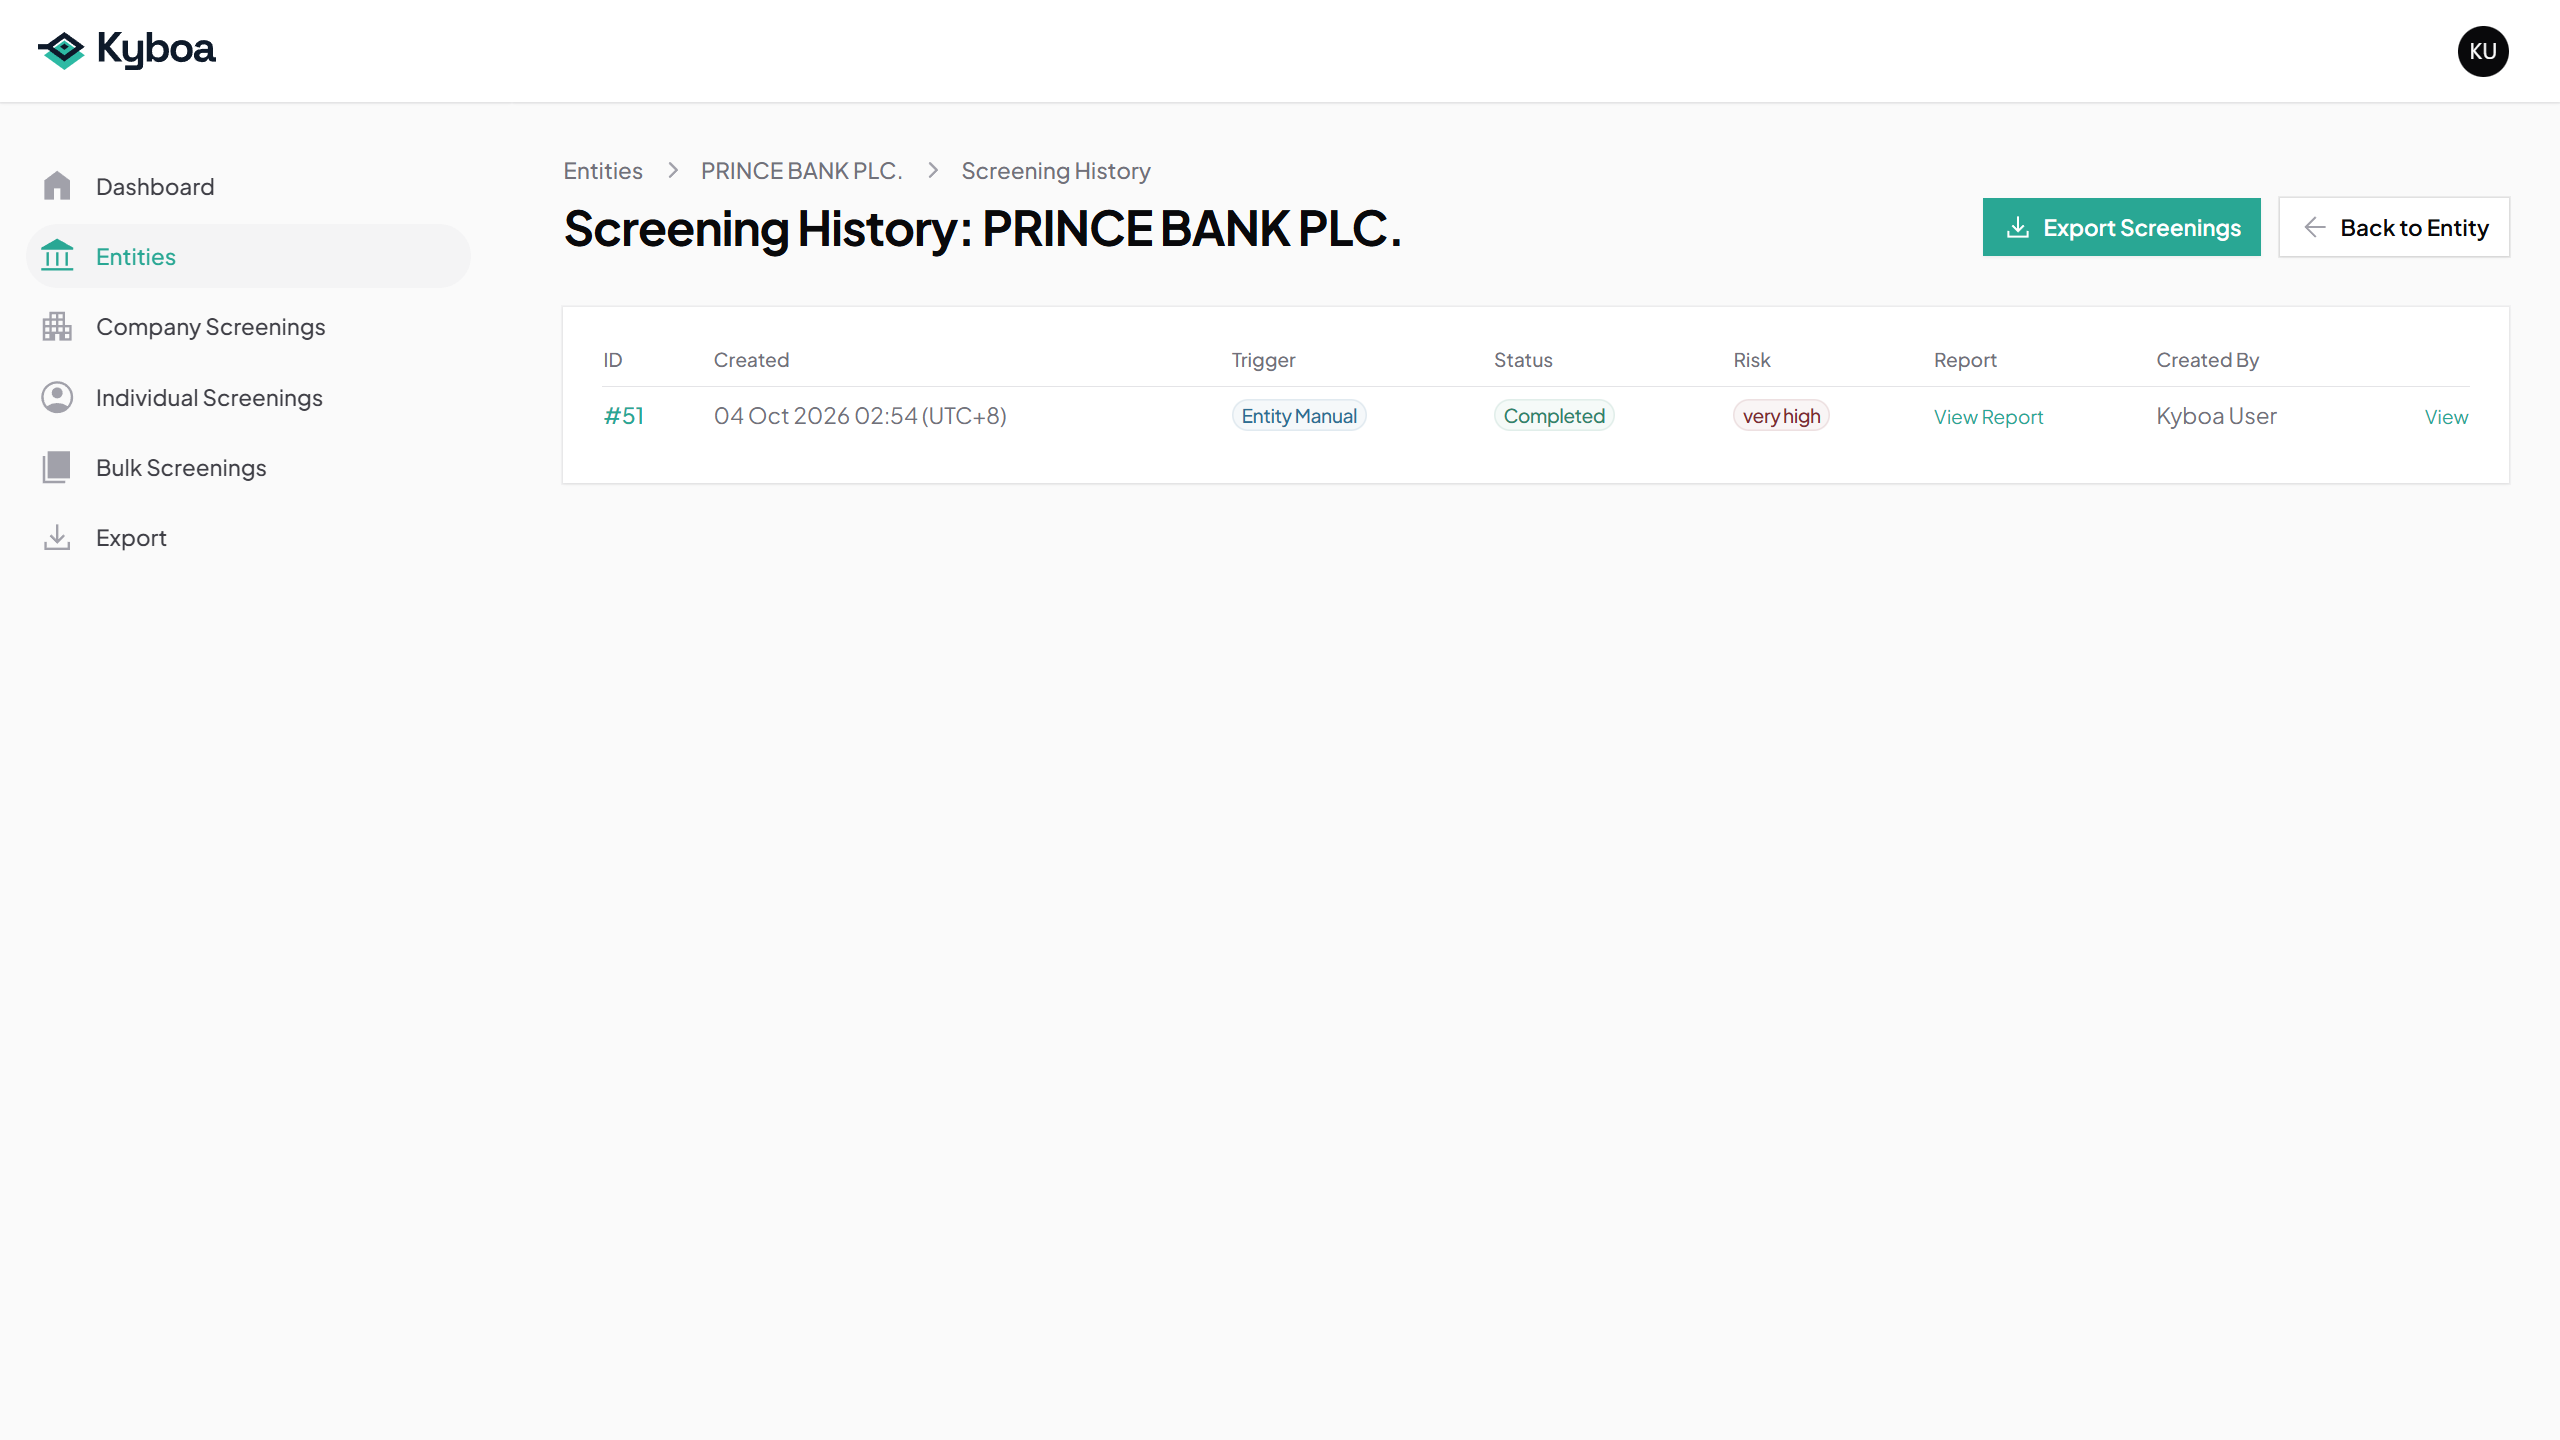
- Return to the Entity and choose Screening History.
- Find the row for the screening just run. Check its date, status and risk rating.
- Use the row’s screening or report links to reopen its output.
Each new screening adds to the Entity history. Previous reports remain available.
5. View Versions
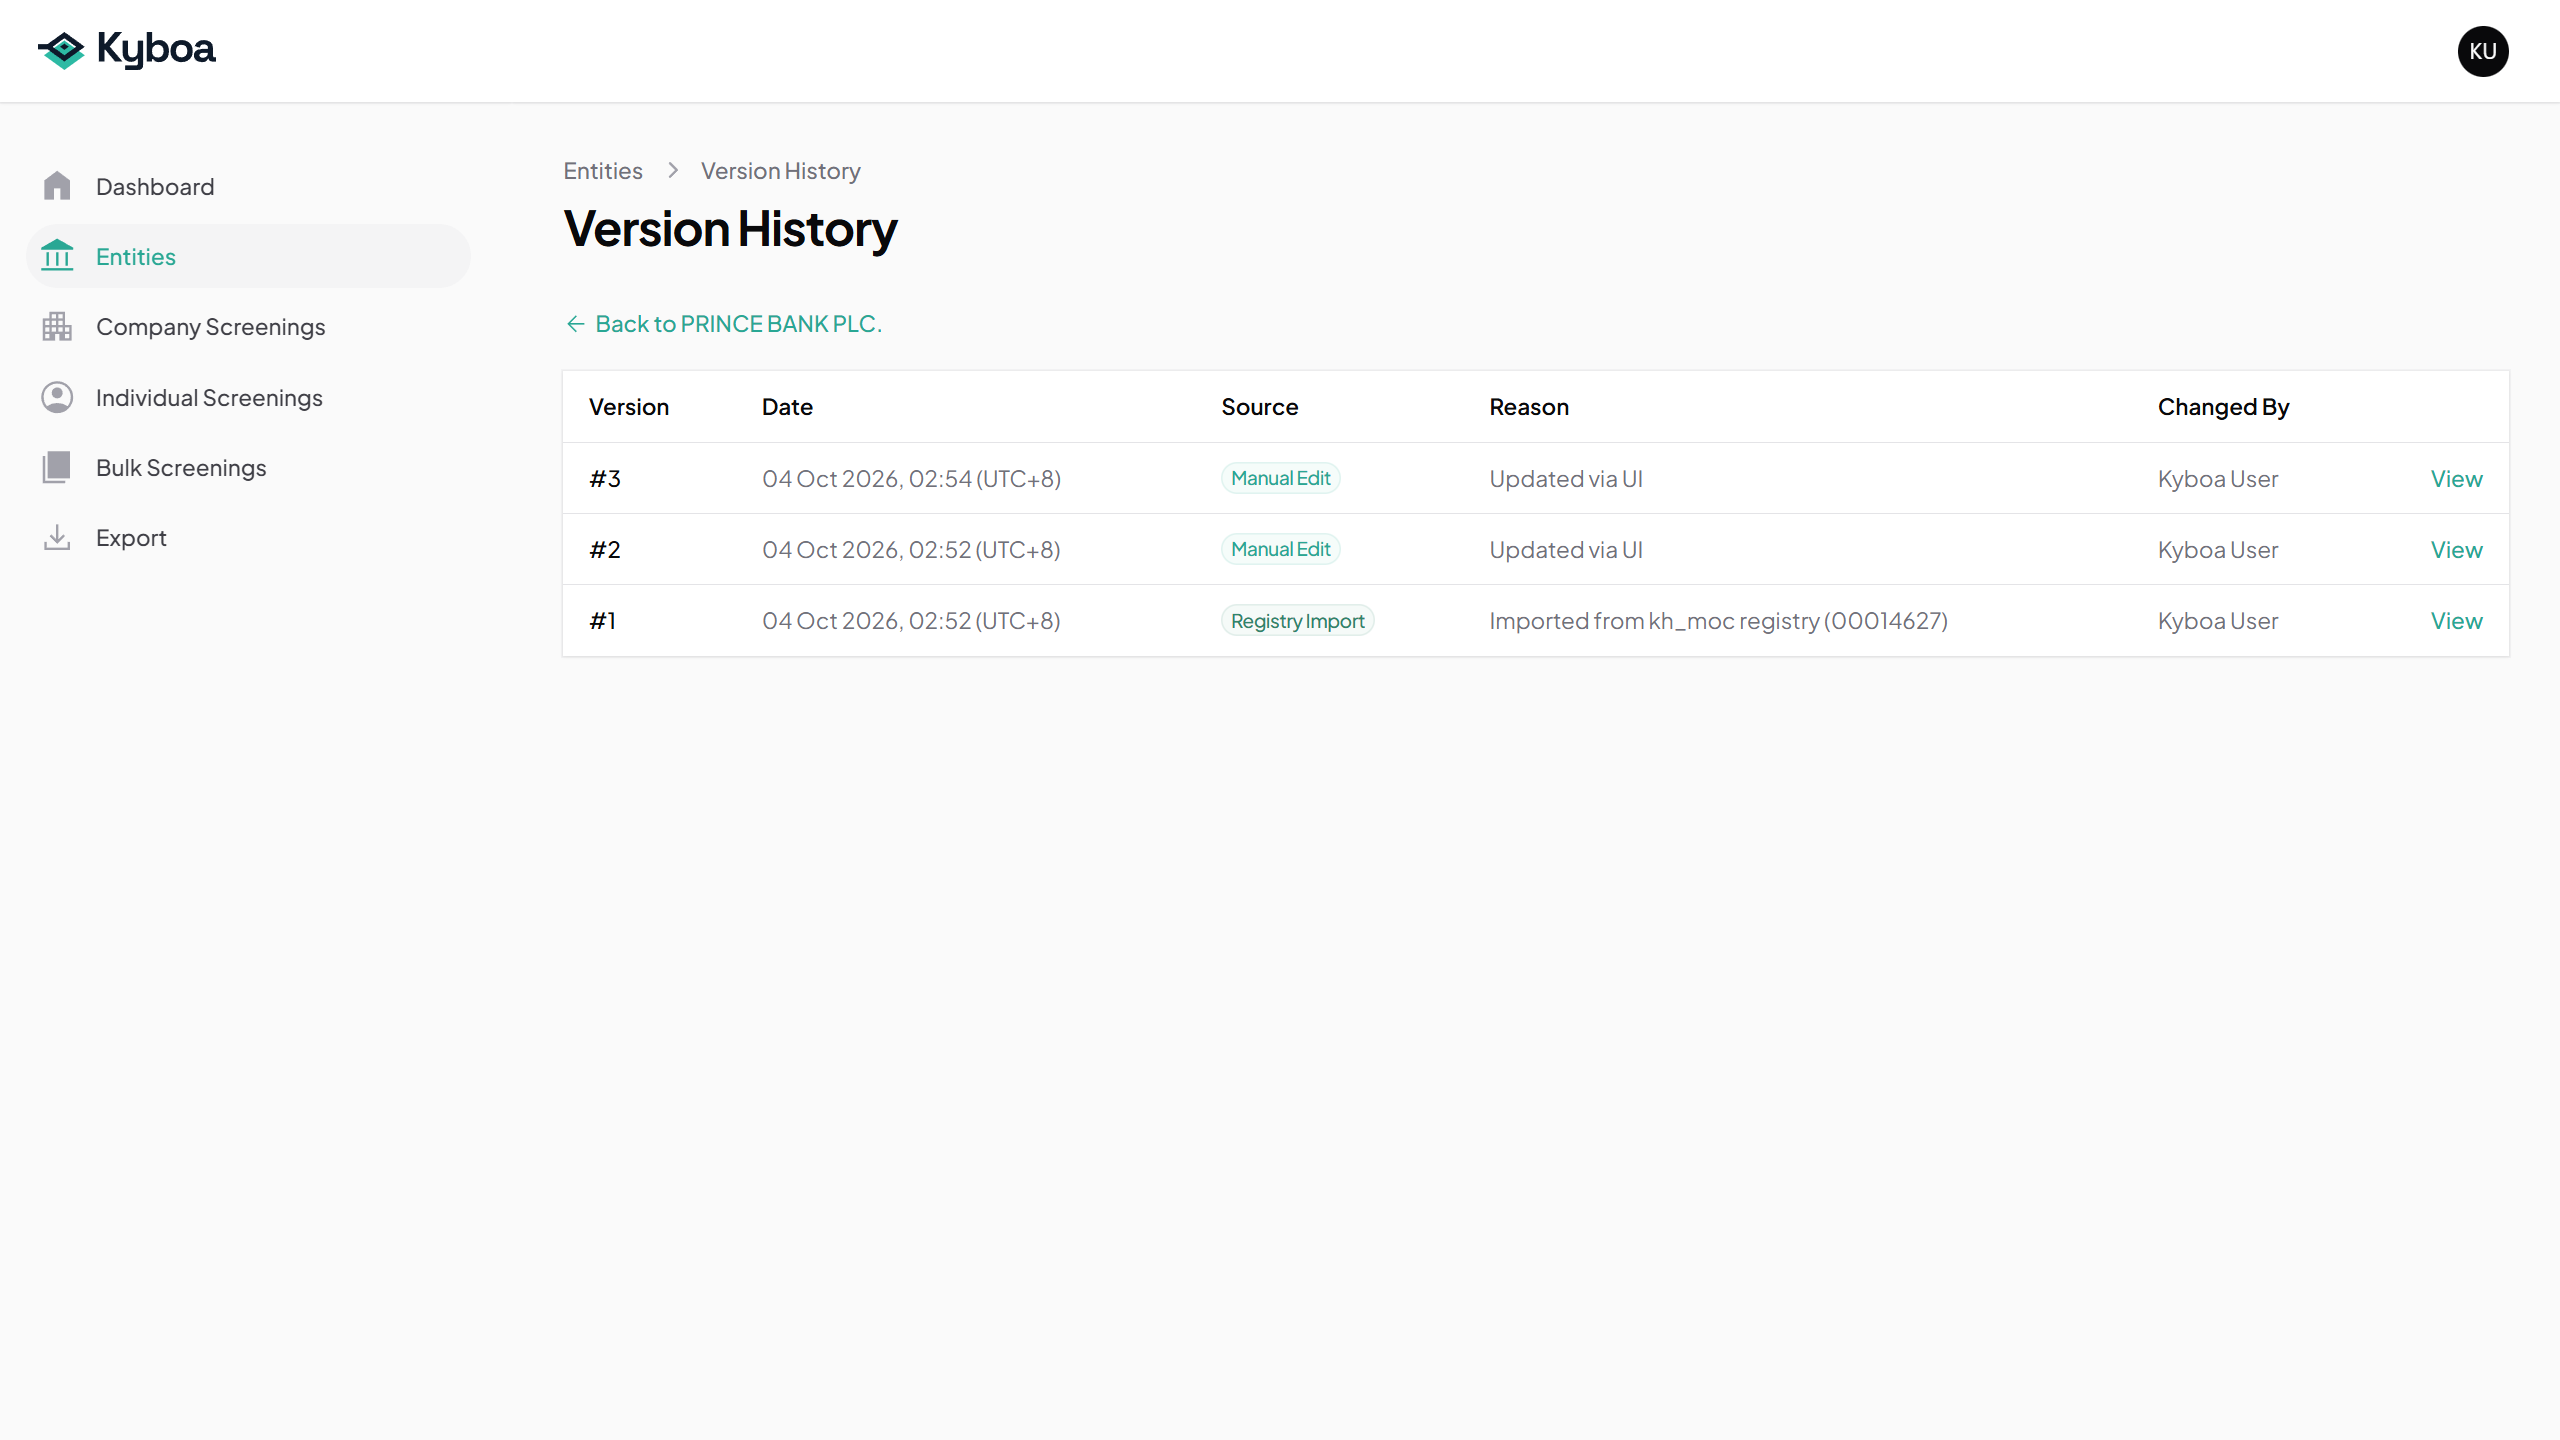
- Return to the Entity and choose Versions.
- Check the recorded date, source, reason and author of a data change. Use View to inspect a saved version if needed.
Versions records changes to the Entity data, including the edit made earlier. It provides a history of the client record.
6. Export the Entity details as PDF
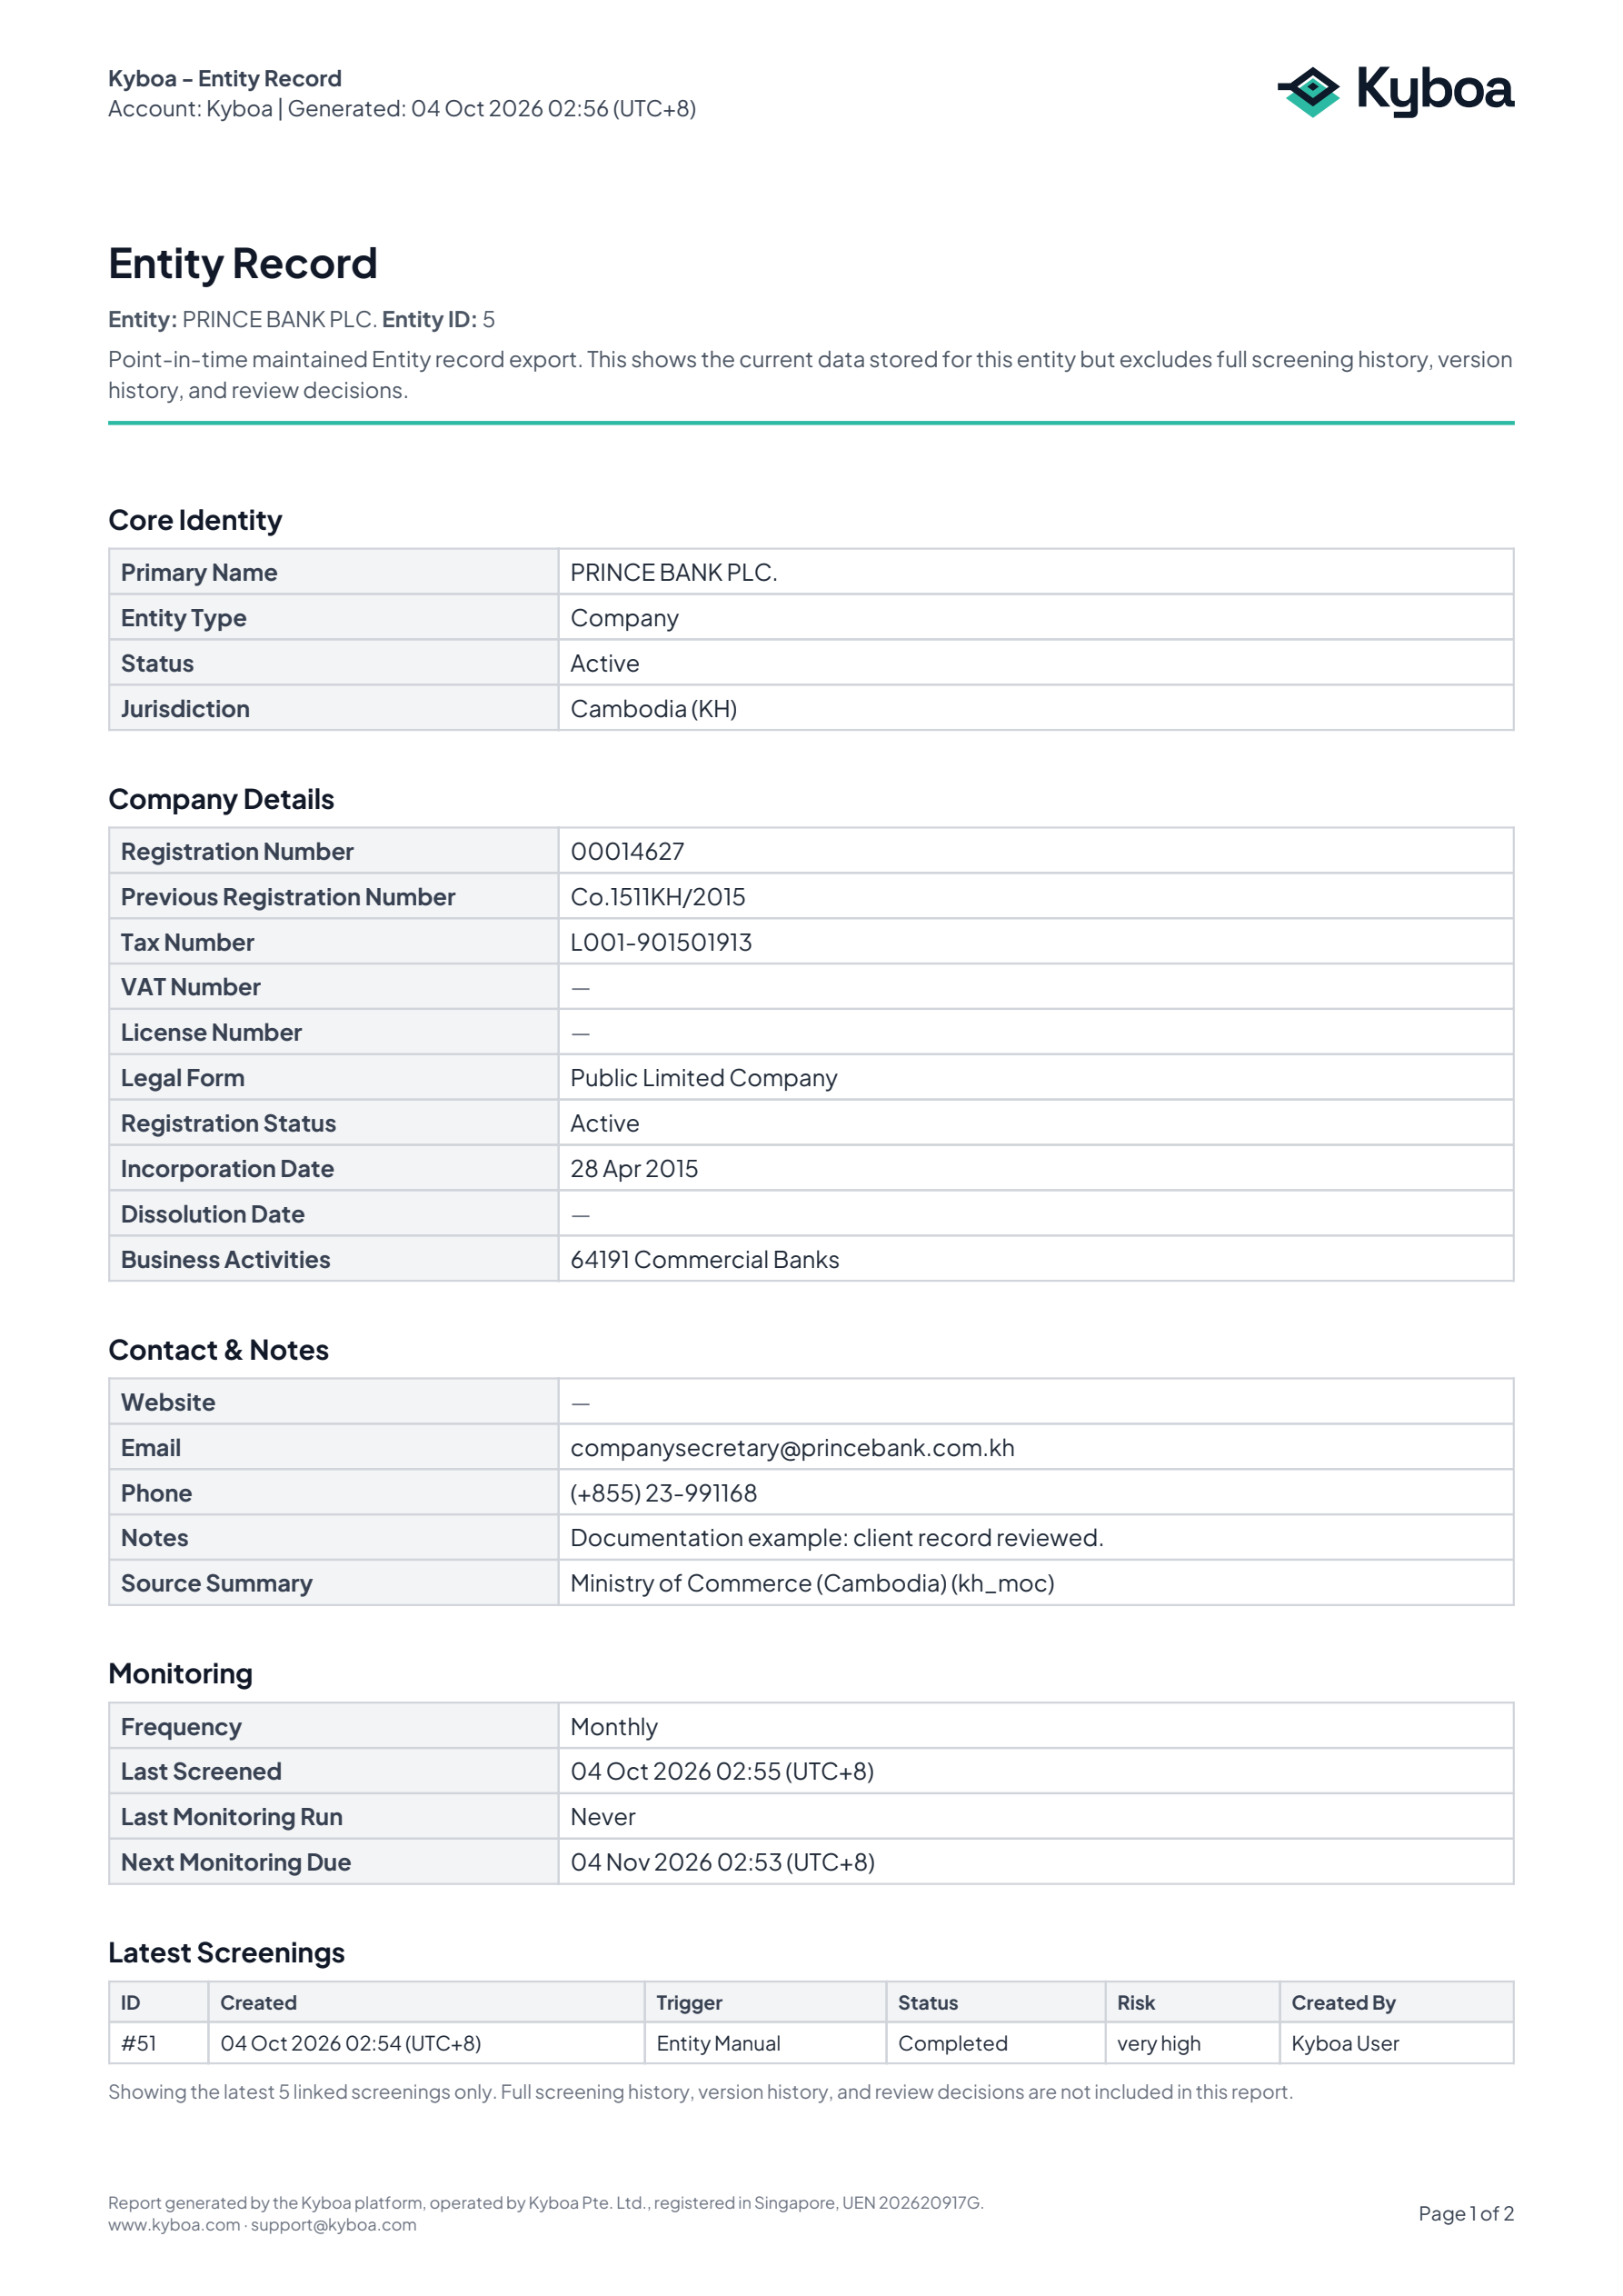
- Return to View Entity and choose Export PDF.
- Open and retain the downloaded Entity details when you need evidence of the data you hold on a client.
This is the Entity record PDF. The screening report is downloaded separately from the screening record or report page.
Open the actual Prince Bank Entity PDF.
7. Understand Review Decisions and Re-import
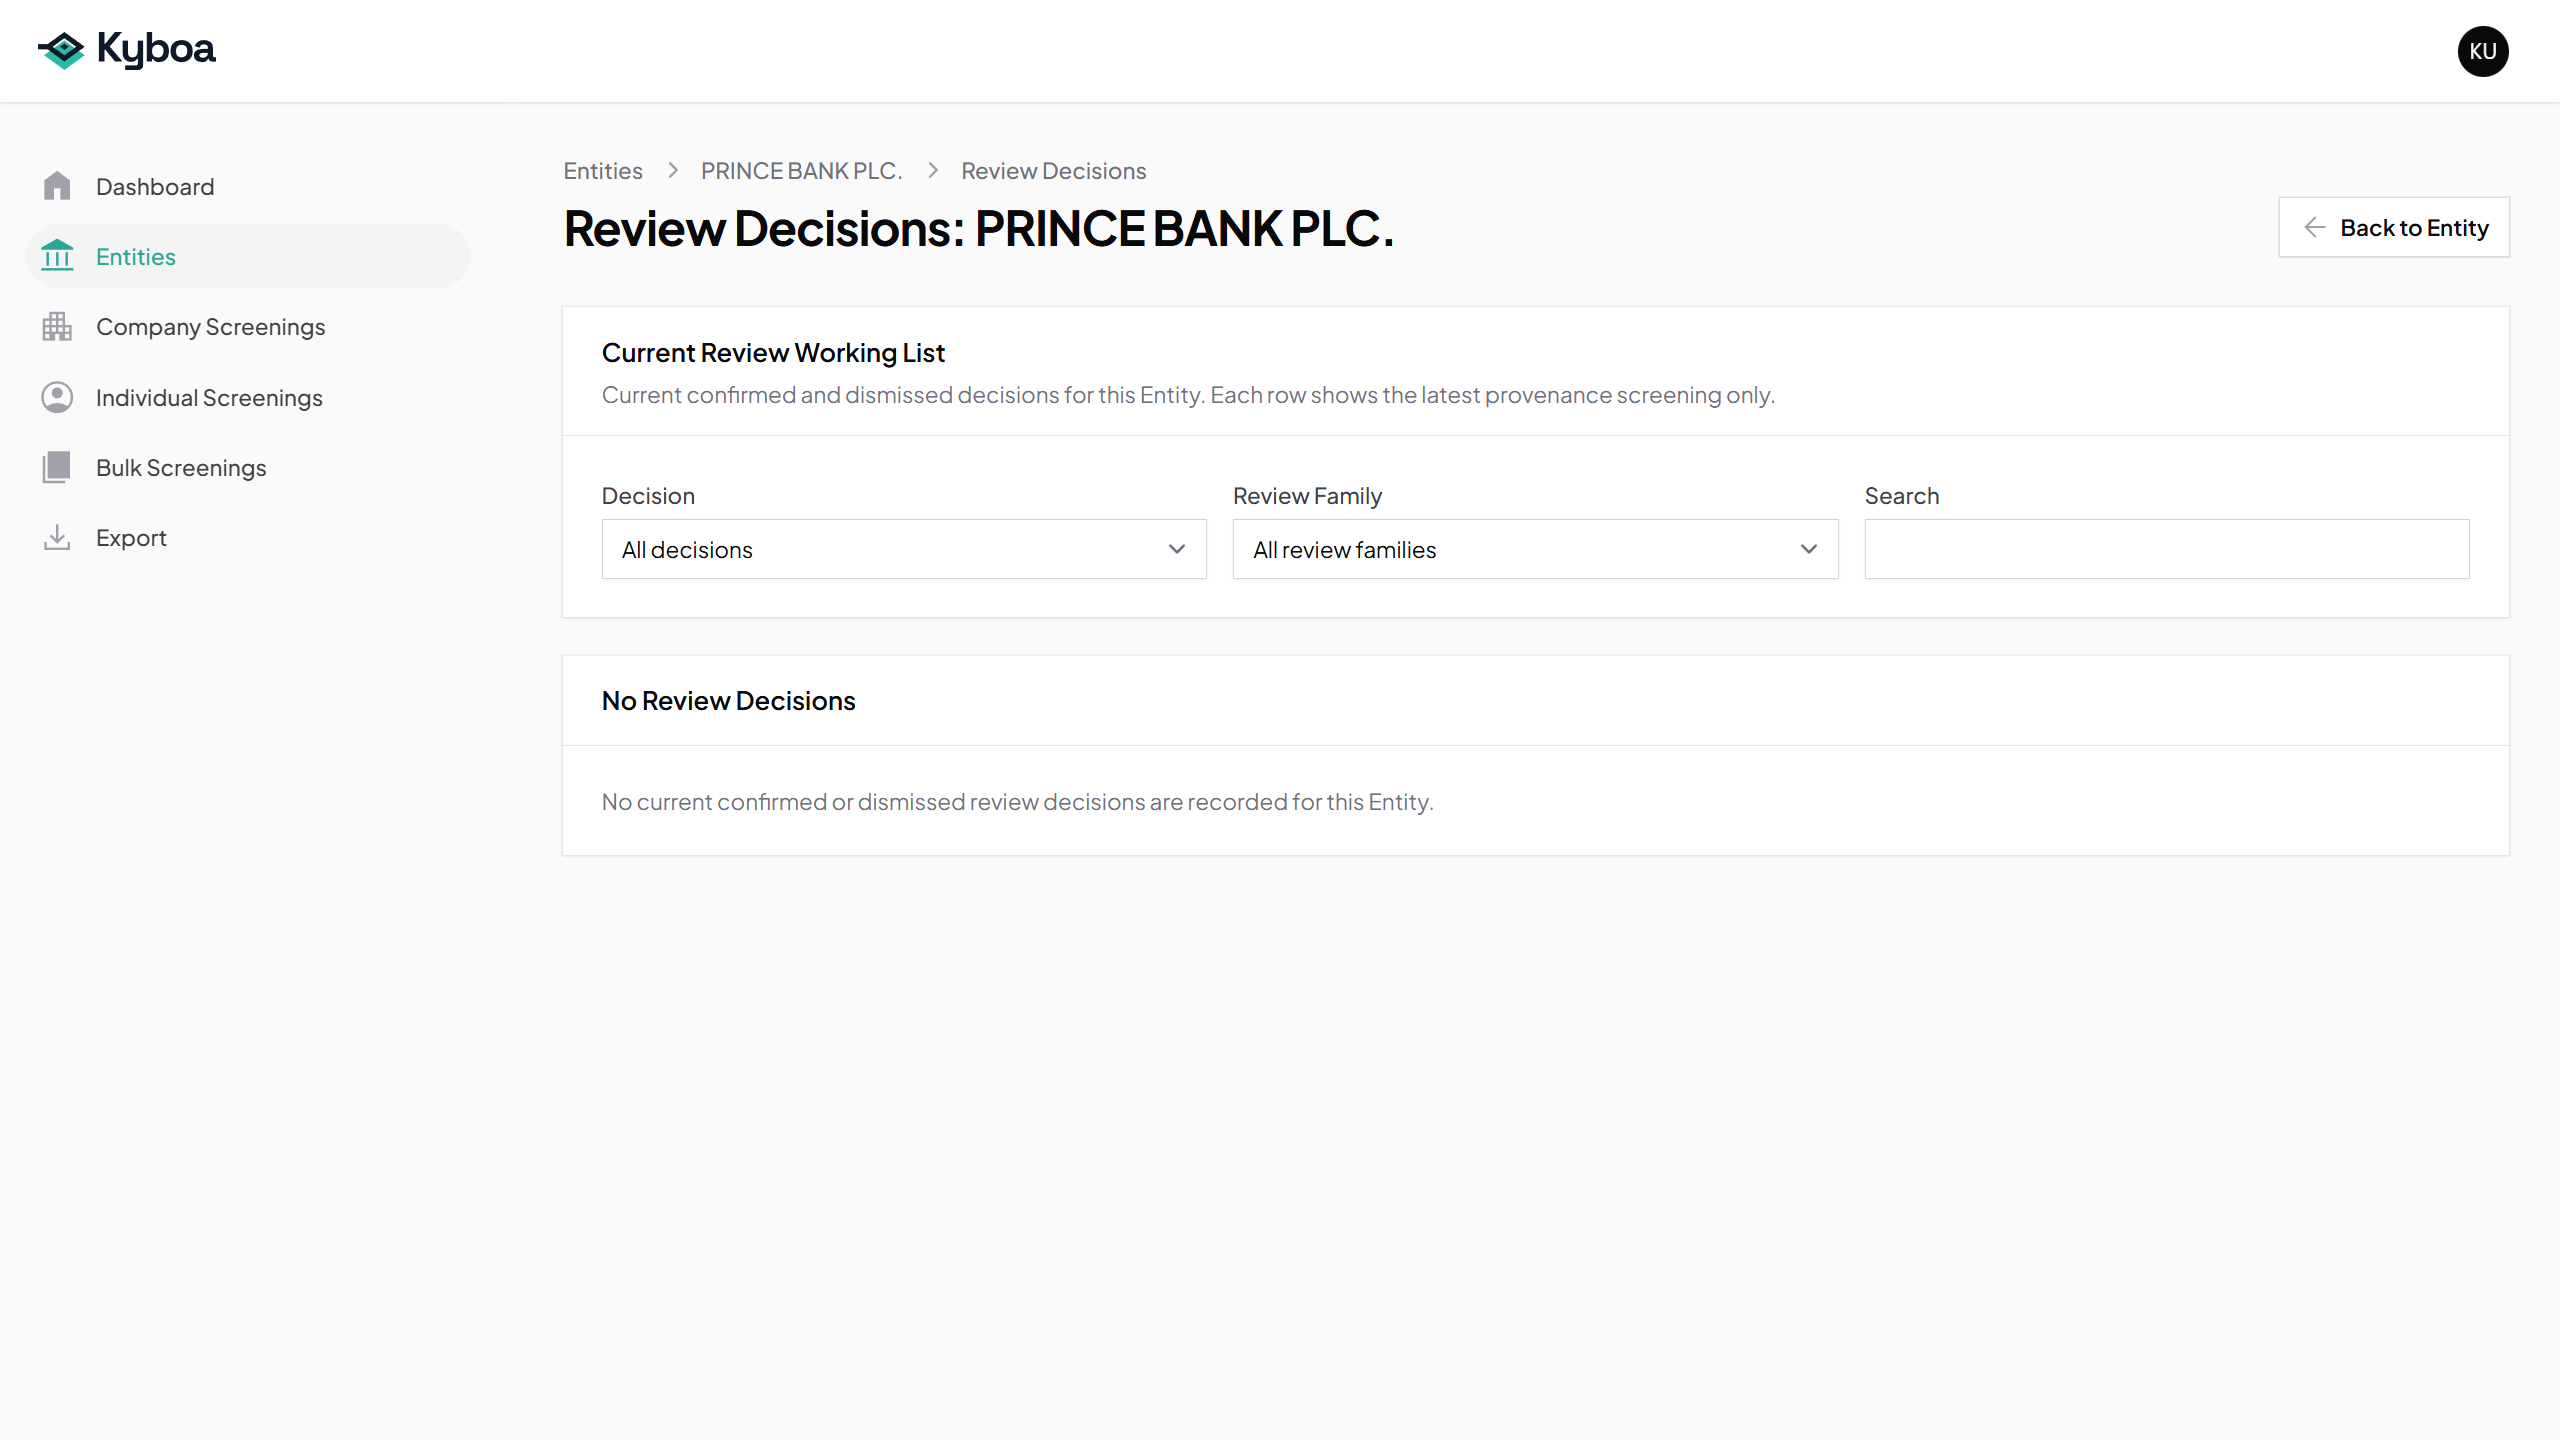
Review Decisions shows saved match-review decisions for this Entity. Its purpose is to help filter false positives from repeated screenings and monitoring. The example briefly opens the page; making a review decision will be demonstrated separately.
Re-import, when available for a registry Company Entity, refreshes the record from its registry source. Review the refresh details before confirming. This walkthrough only points out the button.
9. Check completion
- The Entity data is current and Monthly monitoring is saved.
- The screening is completed and appears in Screening History.
- Versions records the data edit.
- You have saved the Entity PDF if required.
- You understand where Review Decisions is available; no decision was needed for this walkthrough.